
Project management
Projects organize the highest-value work done by legal teams today. Composure enables your legal department to implement, track, and fulfill the goals of your large-scale initiatives. Whether working on-site or in a remote environment, your staff members can contribute to your business’ legal matters from wherever they work using Composure’s project management tools.
What is a Project?
A project in Composure is synonymous with an initiative or legal matter of importance to your business. Any matter that requires multiple steps or tasks to complete can be managed within the Projects functionality on your dashboard. Projects are designed to streamline collaboration on matters using one source of truth that your legal staff and business stakeholders can access.
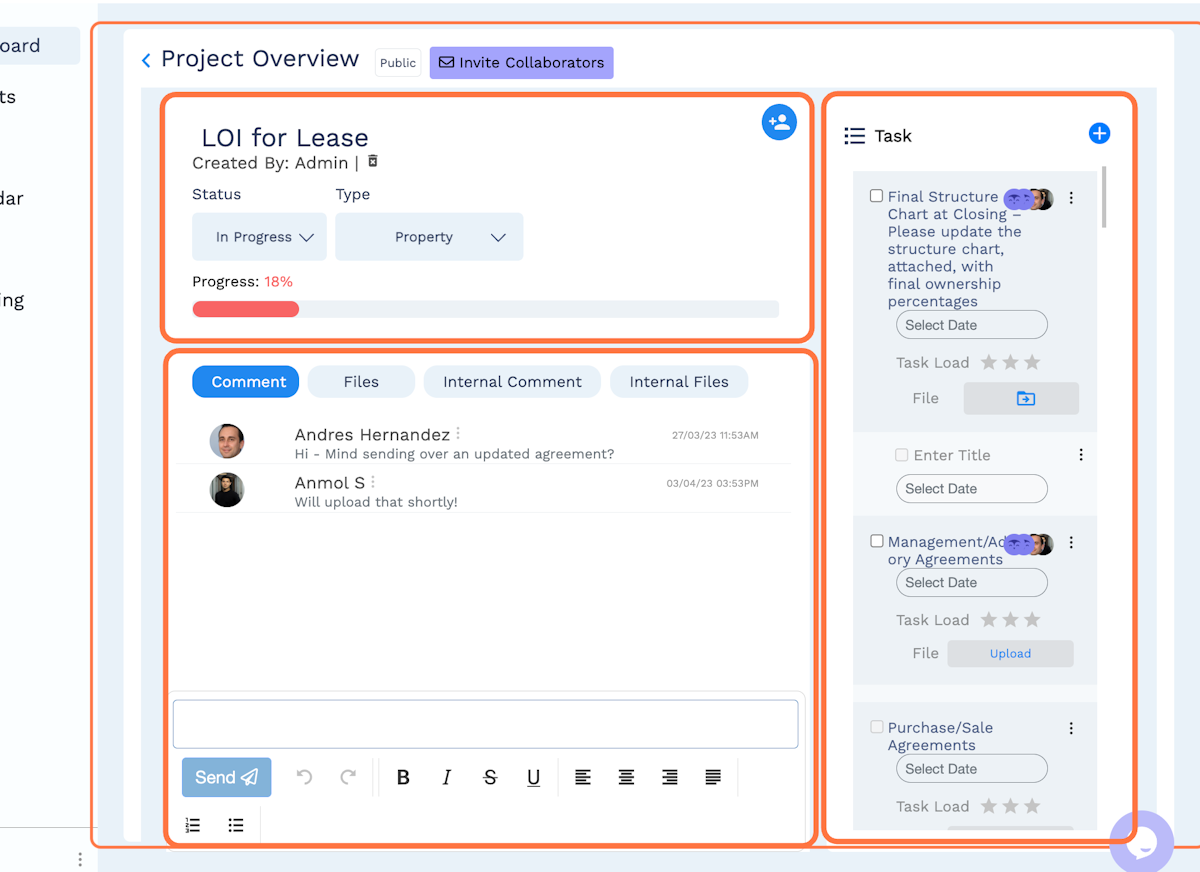
There are three primary aspects to a project:
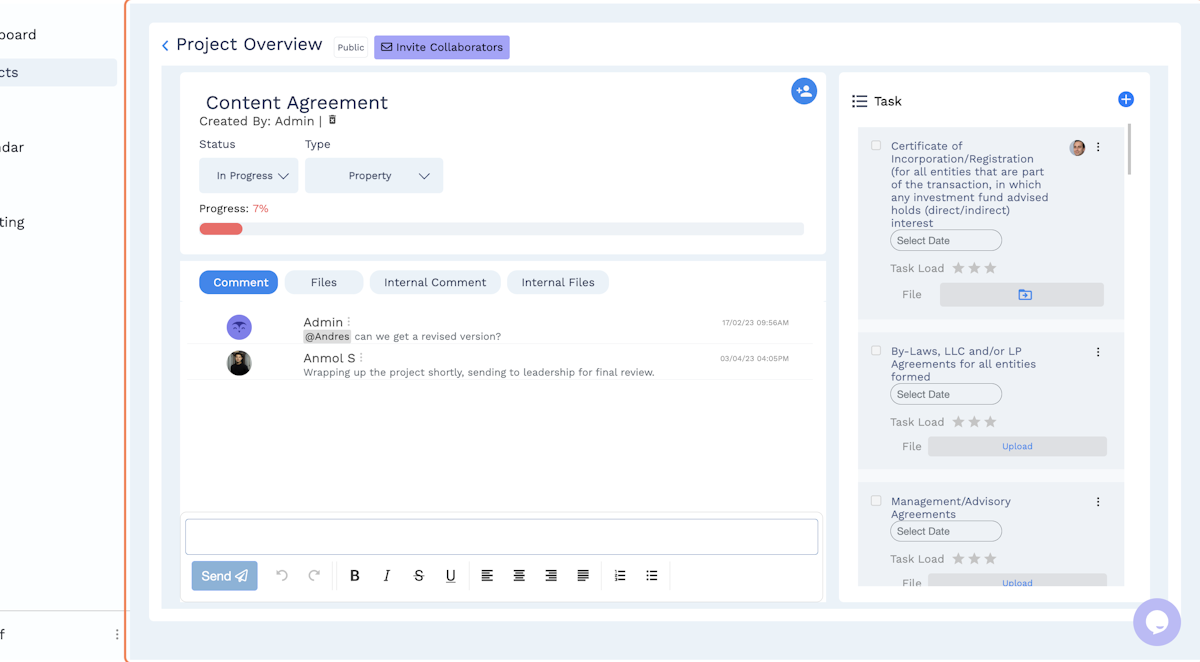
- First, there is the information, classification, and collaborator panel. You can review and adjust the matter’s title, current status, and project type, among other customizable filters. This” summary” portion of the project also displays a progress bar that automatically updates as the matter’s tasks are completed.
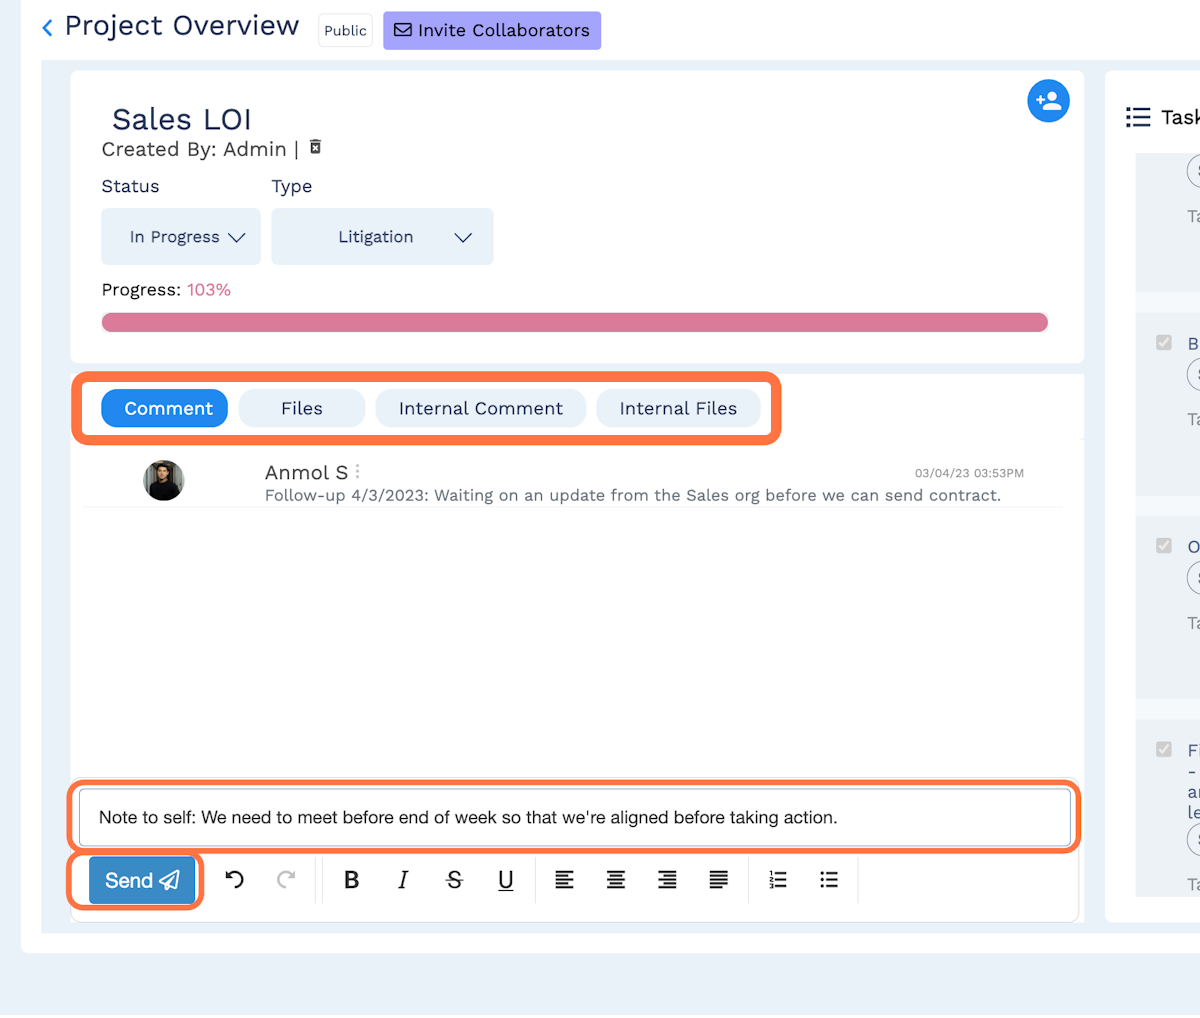
- Then, the comments and attachments portion below organizes the content and dialogue around the project. Think of the comments section as your new email thread. “Comments” and “Files” can be utilized by staff members as well as internal and external collaborators. “Internal Comments” and “Internal Files,” on the other hand, can only be utilized by administrators and staff members assigned to the project.
- Lastly, tasks are the building blocks of the project, organizing your initiative into smaller, actionable milestones that can be delegated to various members of your legal team. Tasks can be assigned to anyone marked as a collaborator on the project.
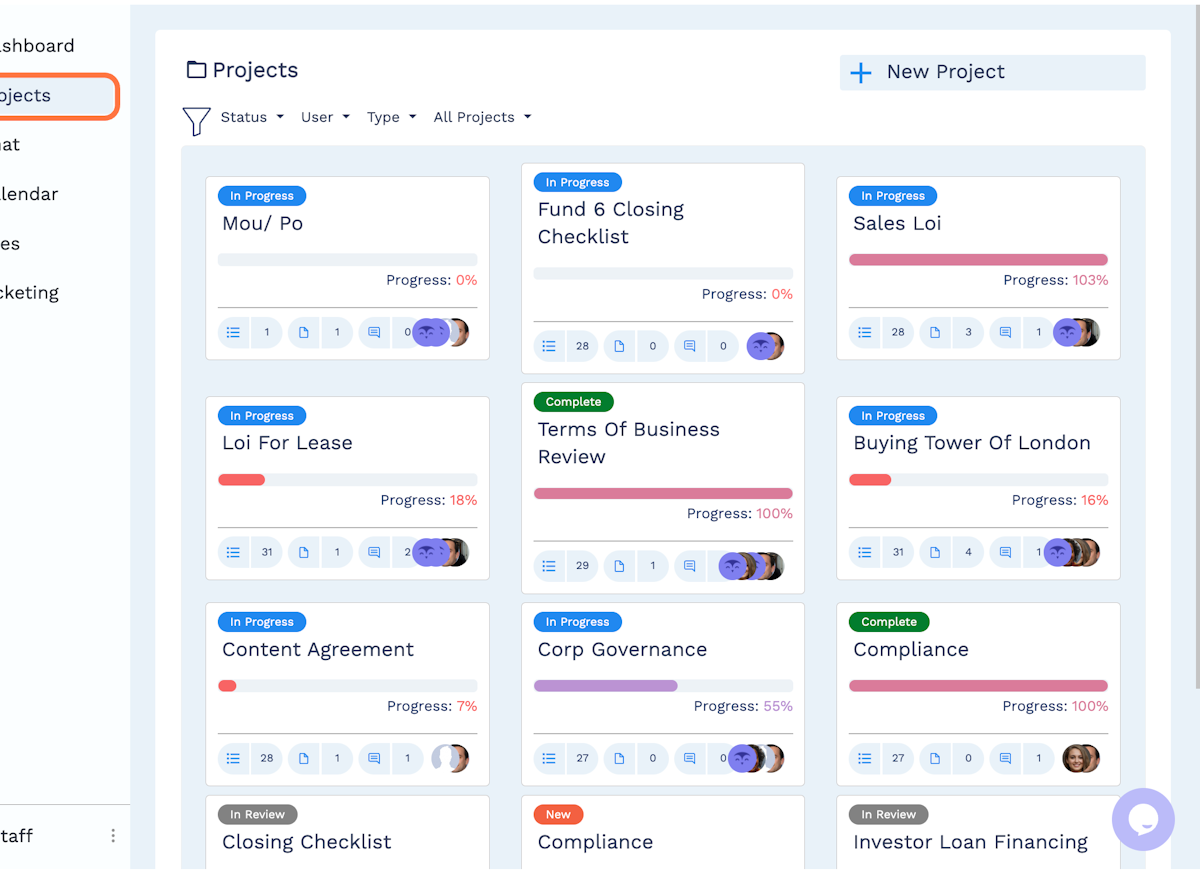
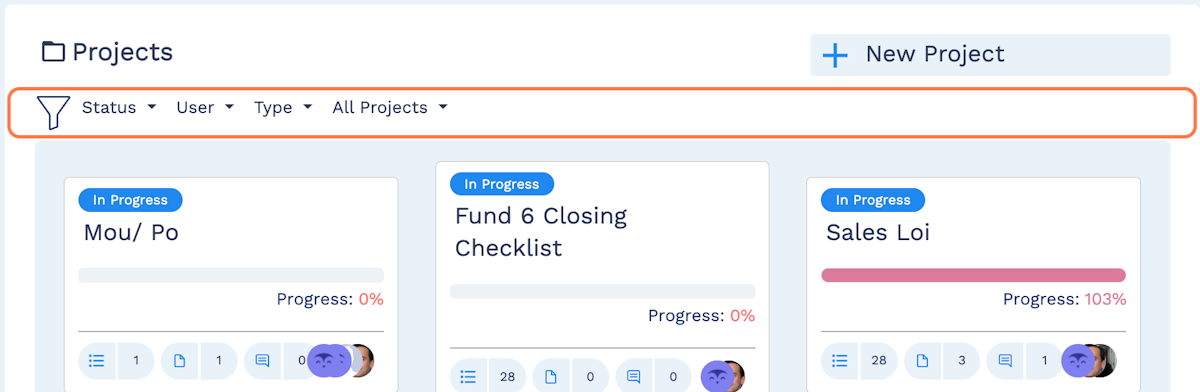
Filter your projects
Once you have selected the Projects page, you will find options to filter your matters as needed. You can filter by:
- Project status
- Assigned users (staff and collaborators)
- Matter type, or legal category
- Two additional custom fields (“Client name” or “Transaction type,” for example)
- “My projects” versus “All projects”
To filter your matters, simply click the relevant filter option, make your selection, and your page will automatically adjust the results.
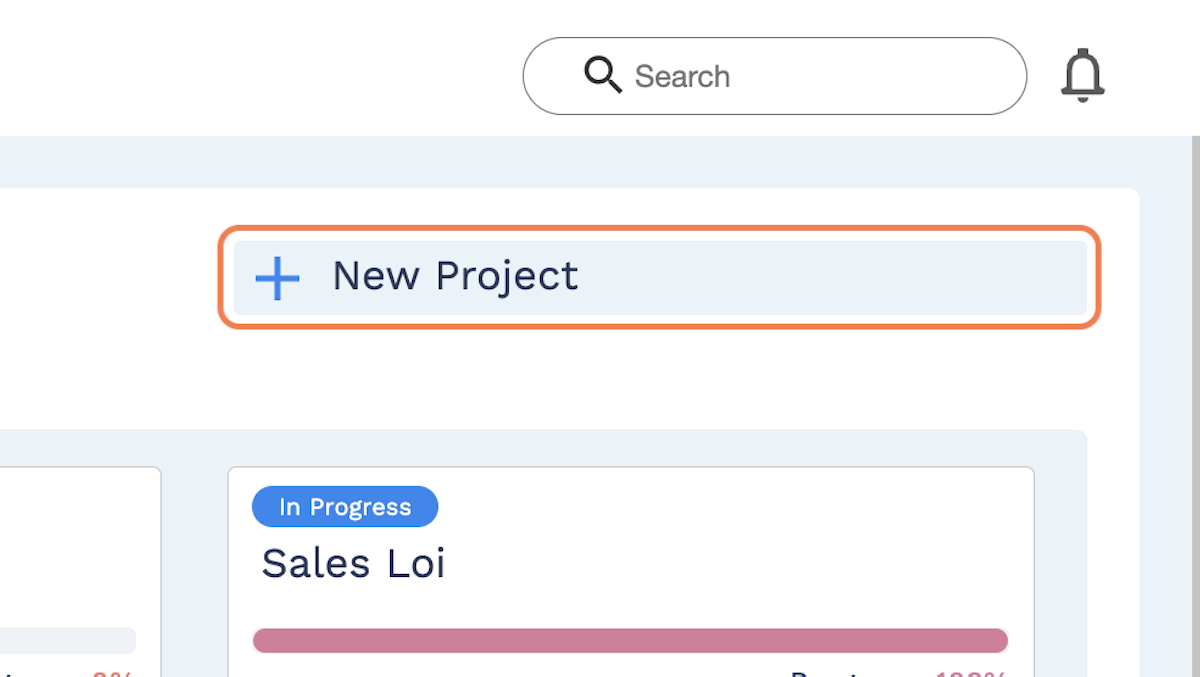
Create a new project
When initiating a new legal matter, select the “New Project” button at the top right of the Projects page.
In the next window, you will be prompted to enter all relevant information on the new project, including:
- Project name
- Status (select “New”)
- Project collaborators
- Matter type, or legal category
- Task list
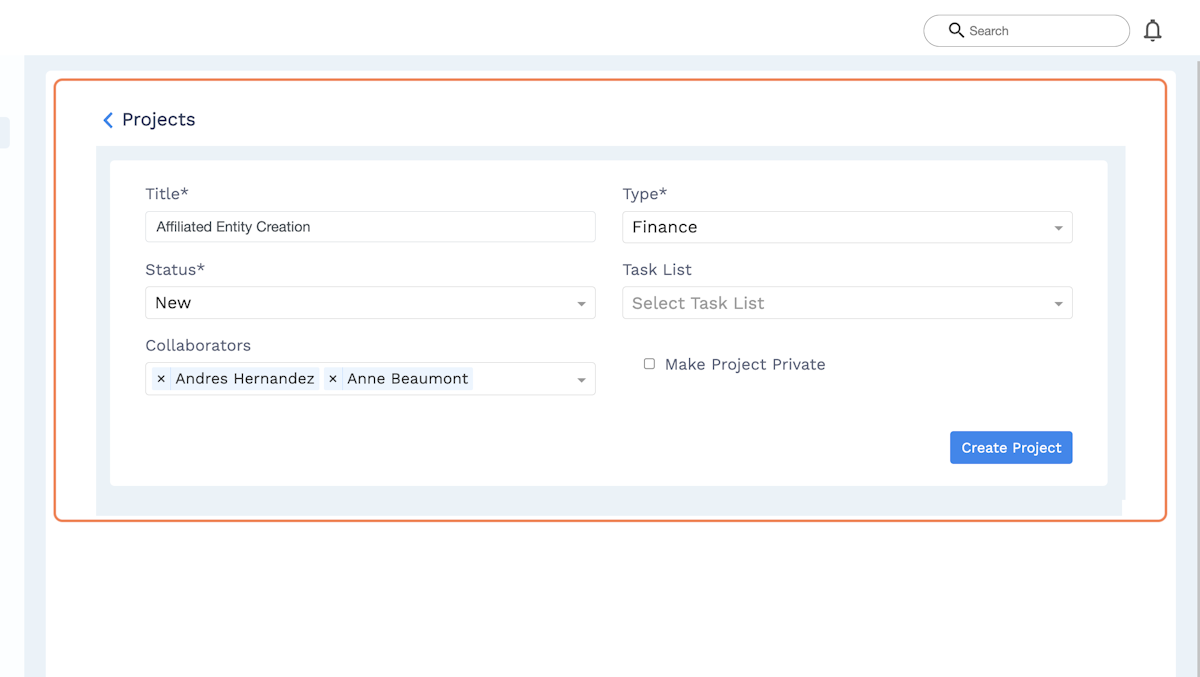
Depending on how your legal department’s account was initially set up, there may also be two additional, customizable fields within which to include additional project details (“Client name” or “Transaction type,” for example).
The“task list” refers to a preset selection of individual tasks that can be automatically applied to your project. For example, if your legal matter involves a real estate transaction, your administrator can create a custom set of tasks that can be applied to any project in the future.
For more information on how administrators can create a task list, see “Create a custom task list.”
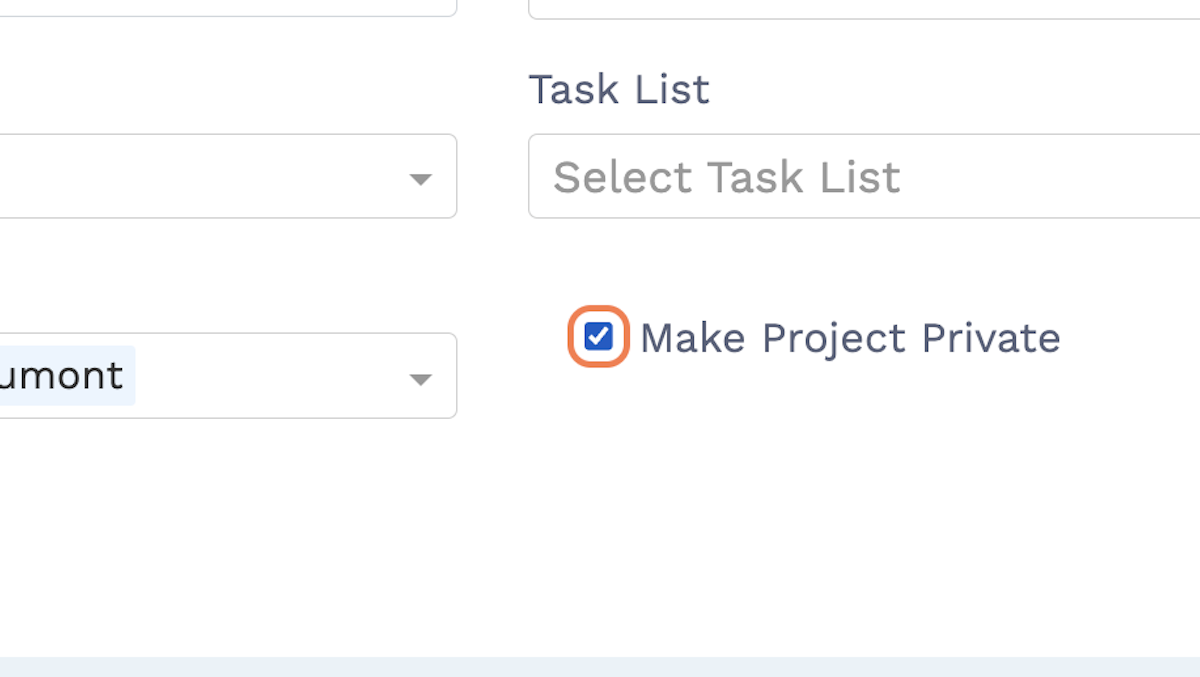
Lastly, there is an option to make the project a “private” one. This label can be applied to any matter containing sensitive information and will only allow administrators and assigned collaborators to view its contents and associated files. Furthermore, private projects will not be visible whatsoever to unassigned users. Simply select the toggle on the screen to make the matter private.
Select “Create Project,” and the new project will automatically appear on the Projects page.
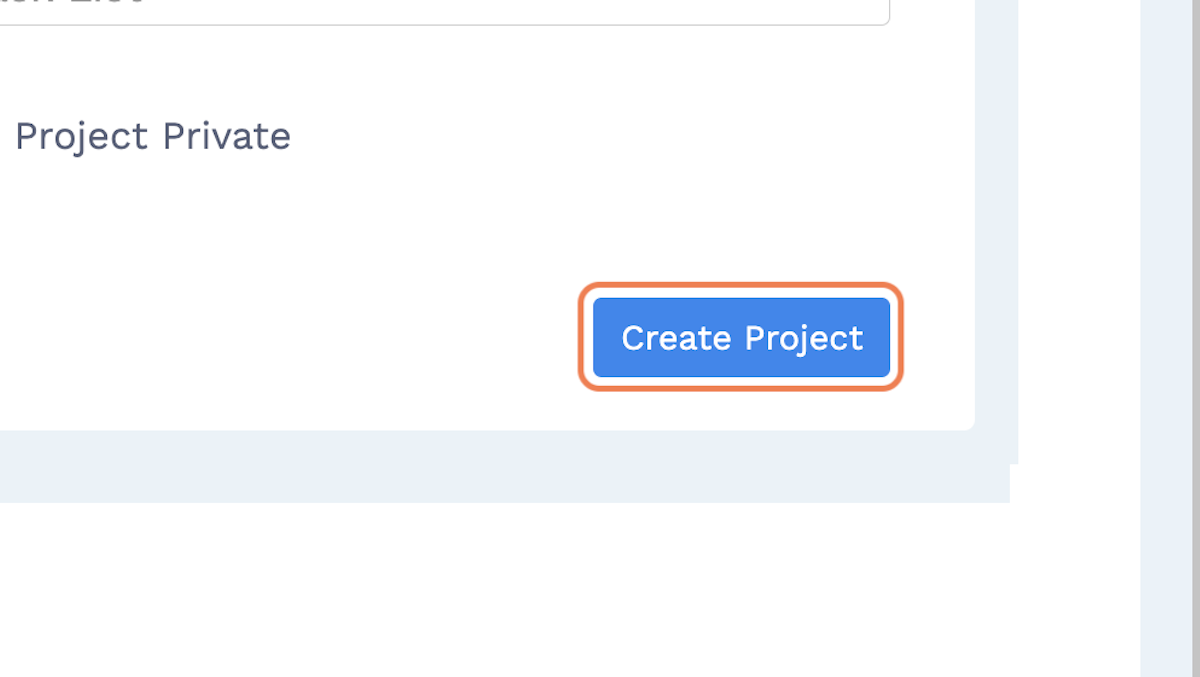
The same process can also be initiated from the Dashboard using the same “New Project” button on that tab.
Update project status
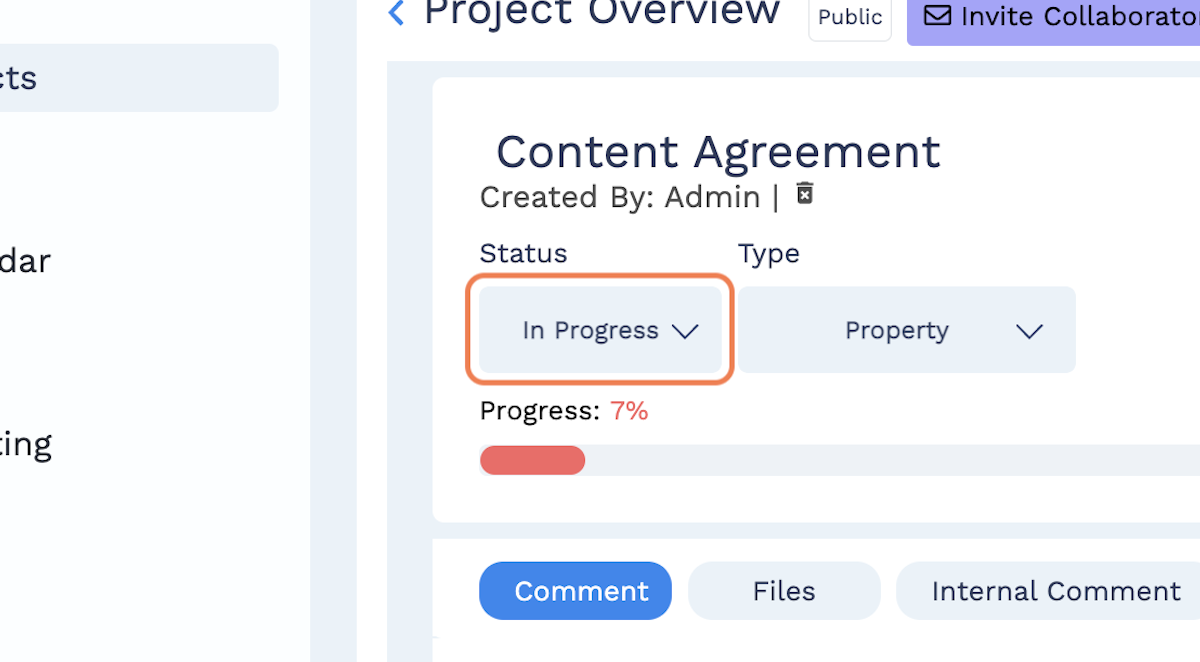
Whether in your Dashboard or Projects page, the project status will be displayed at the top left of the project summary cell. As you make progress on your legal matters, members from your legal department can update the official project status to reflect any developments made.
In order to update the project status, first navigate to the relevant project.
Next, select the project and navigate to the “Status” tab. The status options include:
- In Progress
- Complete
- Hold
- New
- In Review
- Go Live
Select the new status option, and your change will automatically be saved. For more information on how administrators can customize status labels, see “Customize Composure for your business.”
Add collaborators to your project
If your project has already been created and you need to invite additional staff members or collaborators to it, there are two ways to add them:
Invite new users:
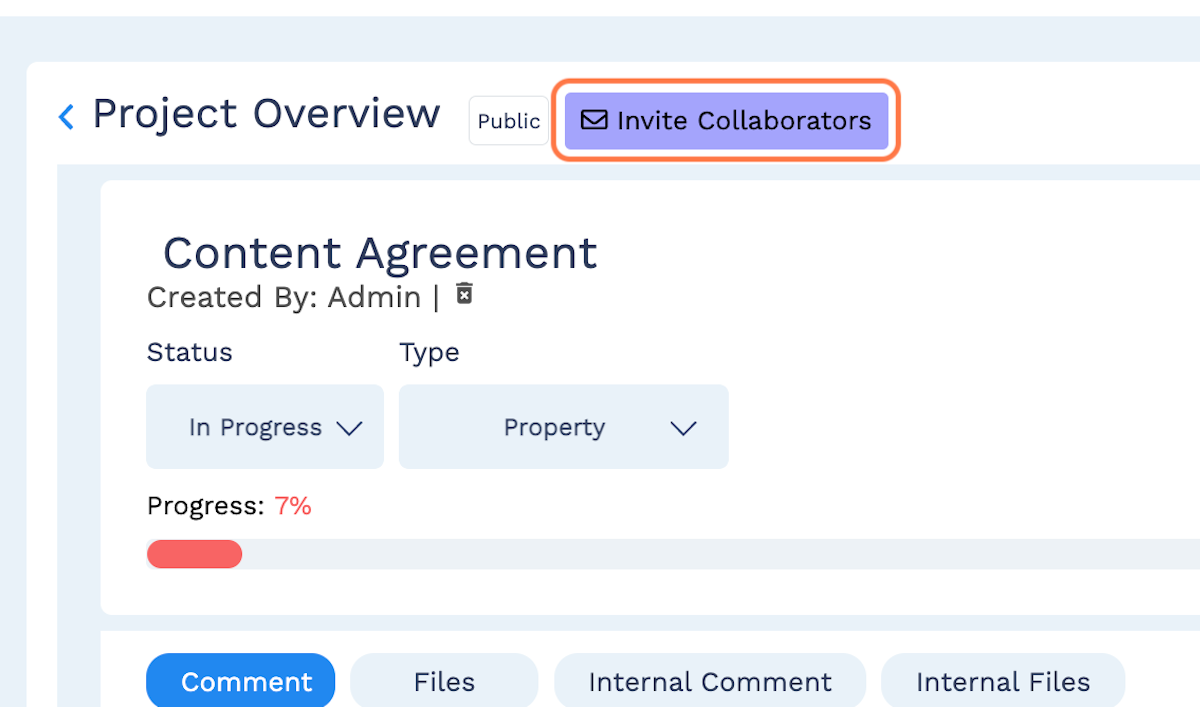
In order to invite collaborators who do not yet have Composure profiles, first select the relevant matter from the Projects page. Once the project window is open, select the “Invite Collaborators” button.
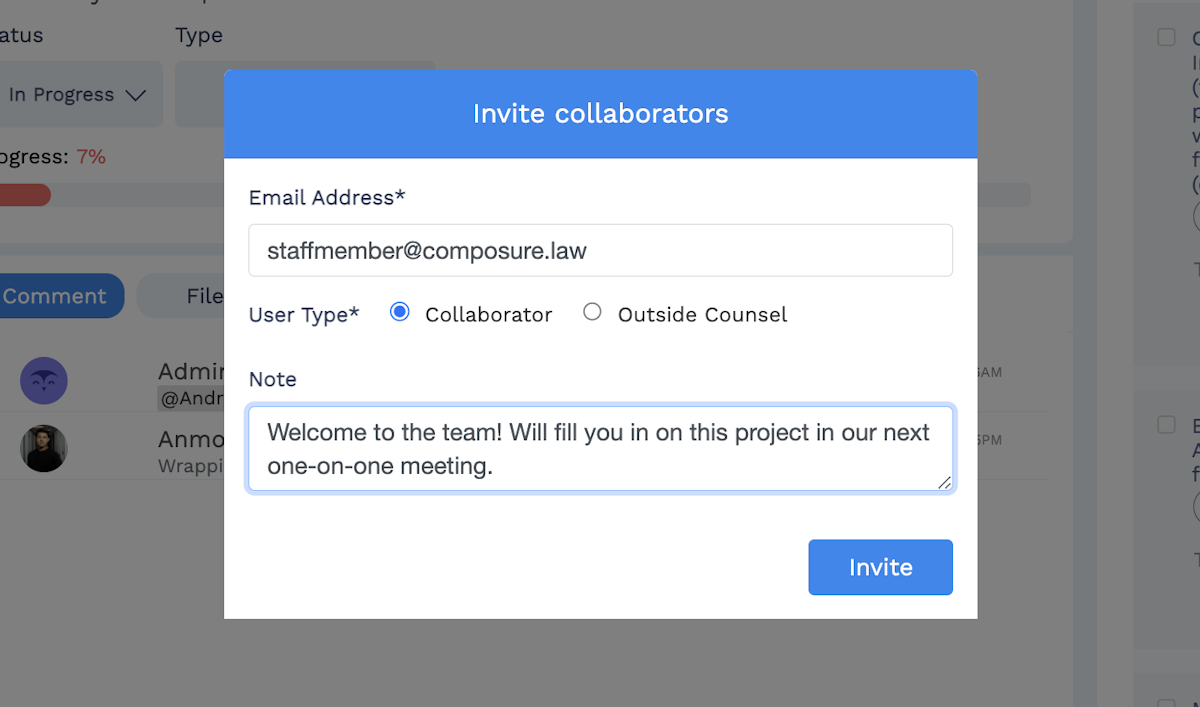
The modal that appears will prompt you to enter the collaborator’s email address and to categorize the invitee as a “collaborator” (internal staff or business stakeholders) or as “outside counsel.” You may leave a note in your invitation that the collaborator will receive. Once complete, select the “Invite” button, and the collaborator will automatically receive a notification.
Invite existing users:
In order to invite staff members or business stakeholders who already have Composure profiles, select the icon at the top right of the matter summary cell.
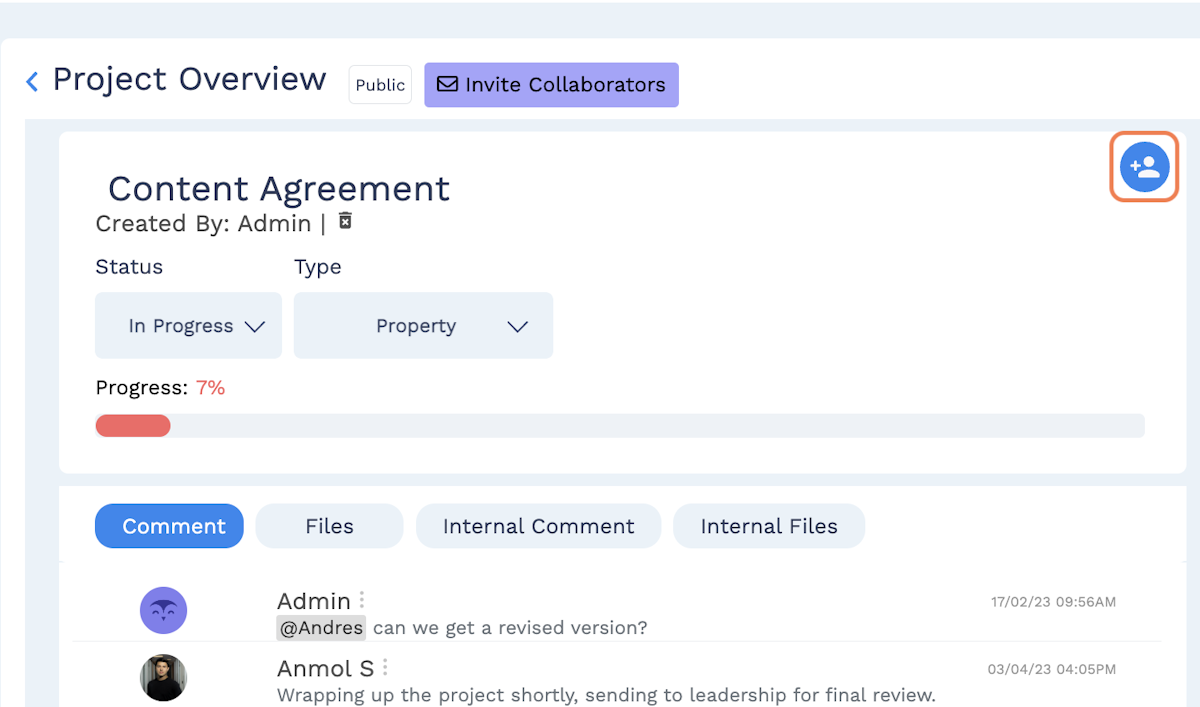
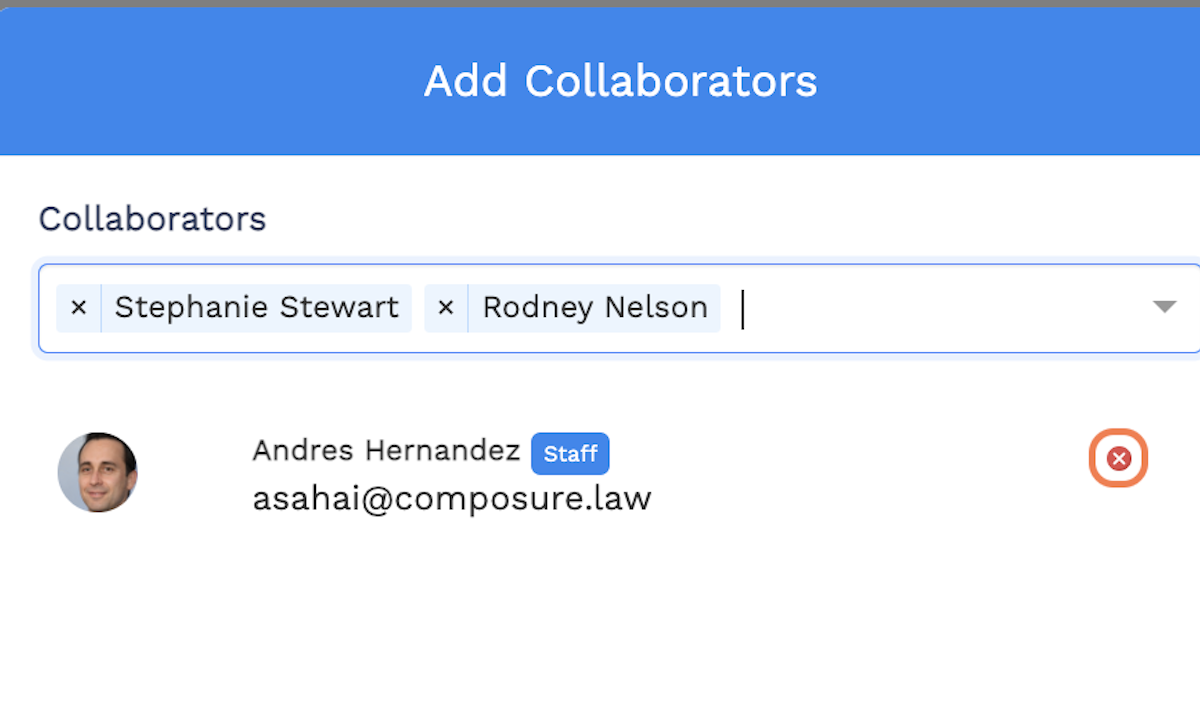
The new modal prompting you to “Add Collaborators” provides a dropdown menu from which to select the user profiles that you need to add to the project. Individually select the relevant user names and press “Add” to complete the project invitations.
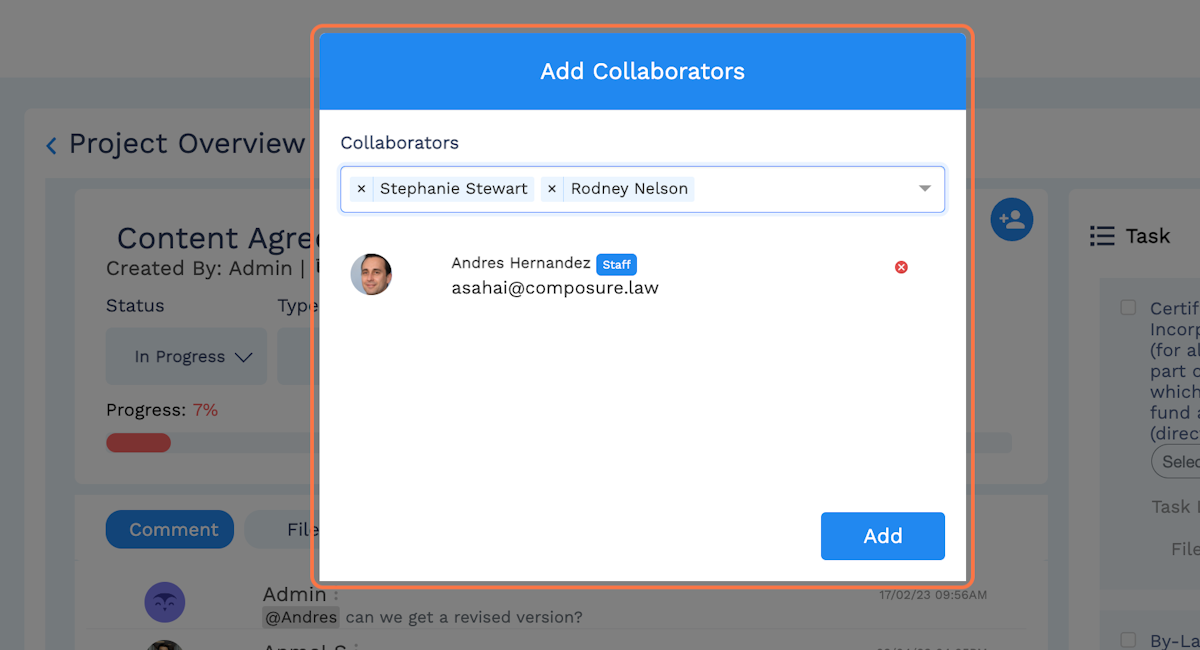
Additionally, the modal lists the existing project collaborators below the dropdown menu. In order to remove a collaborator from a project, select the red “X” icon and confirm “Delete” thereafter.
What are internal comments and internal files?
The comments section of the project acts as a platform for collaborators to communicate on that specific matter in one place, reducing back-and-forth on email exchanges. Files and documents applicable to the matter can be uploaded and reviewed within the project at any time.
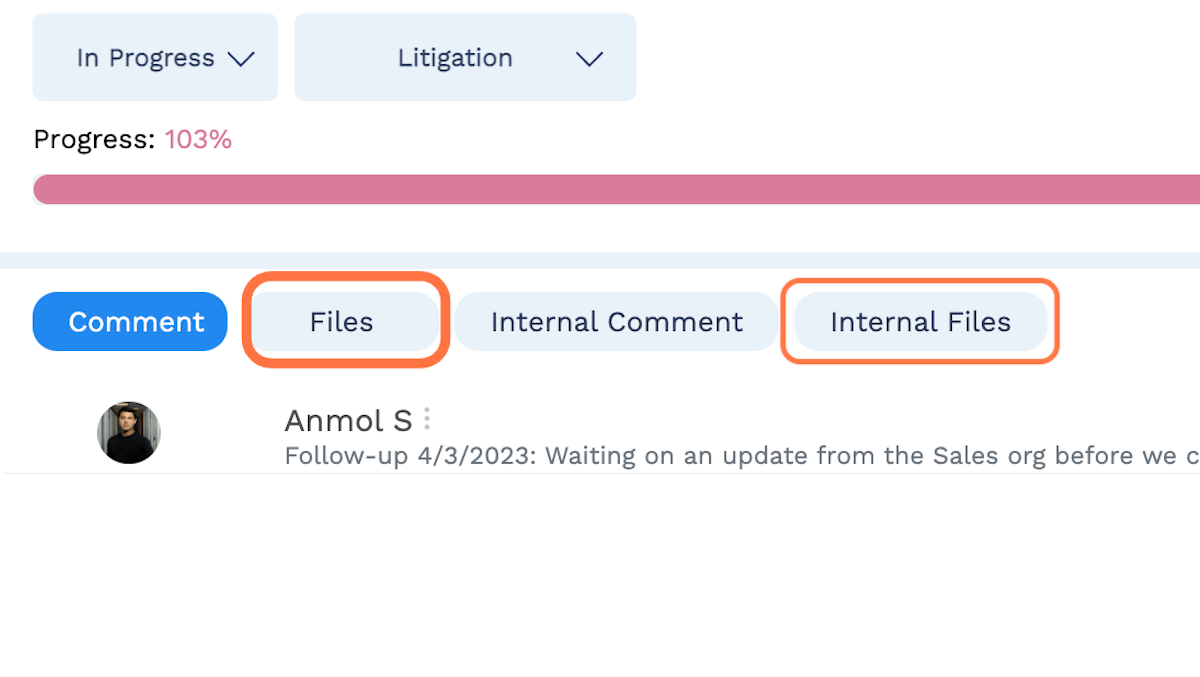
The “Comments” and “Files” sections are visible to and can be utilized by any staff member, collaborator, or outside counsel. “Internal Comments” and “Internal Files,” on the other hand, are reserved only for administrators and assigned collaborators, and neither outside counsel nor unassigned staff will be able to review “internal” exchanges or files.
Leave comments and attach files
Whether internal or not, leaving comments and uploading files works the same. To leave a comment, select the “Comment” or “Internal Comment” button, compose your message in the cell below, and press “Send” to attach your message.
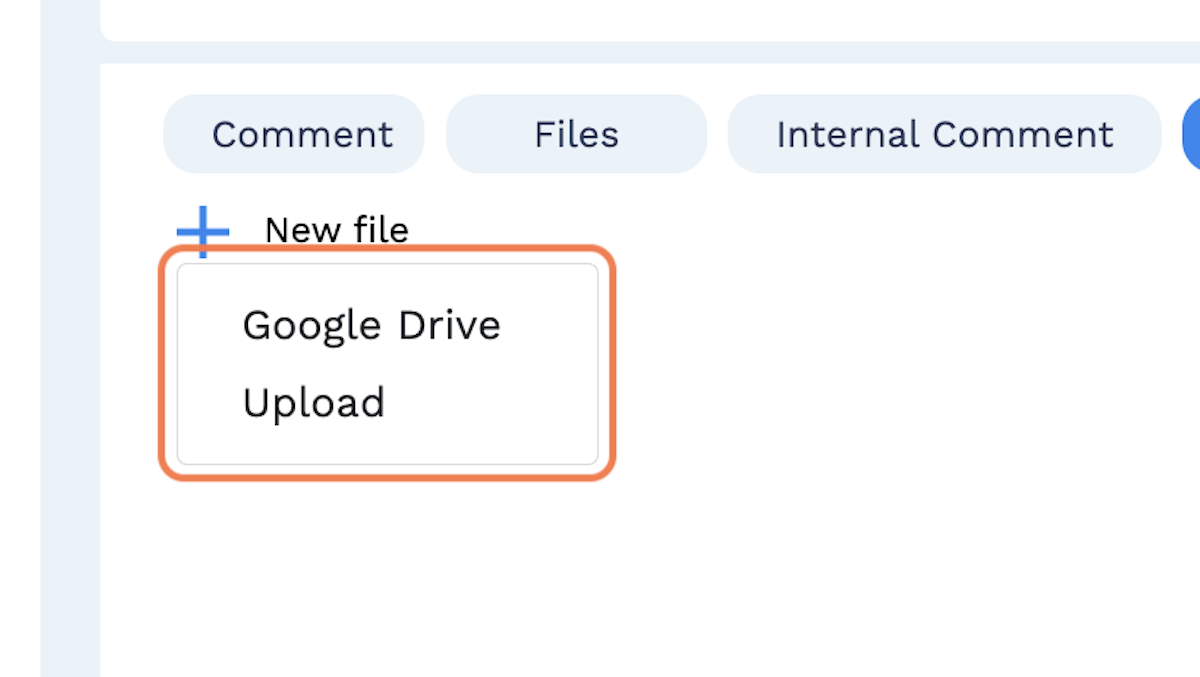
To upload a file, select the “Files” or “Internal Files” button.
Then, select “New File” and upload directly from your computer or Google Drive.
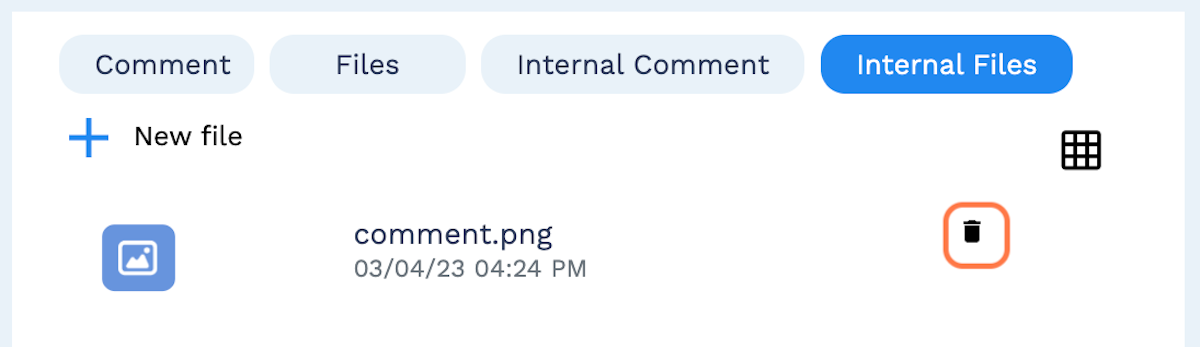
Once uploaded, you can review any attached file by simply selecting it, and the file will automatically download onto your computer. To remove a file, select the trash can icon next to it and confirm the deletion.
Add tasks to a project
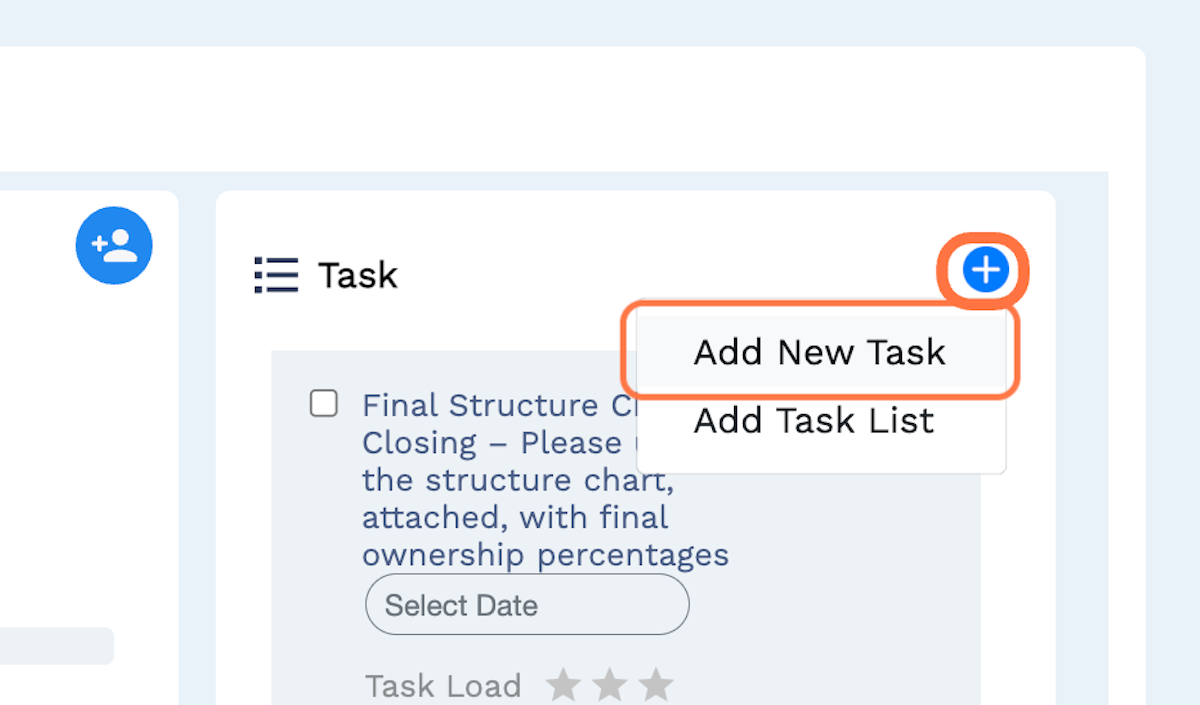
Once a project has been created, you may need to add new tasks as it develops. To create a new project task, select the “plus” icon in the Task portion of the project window and select “Add New Task” from the dropdown.
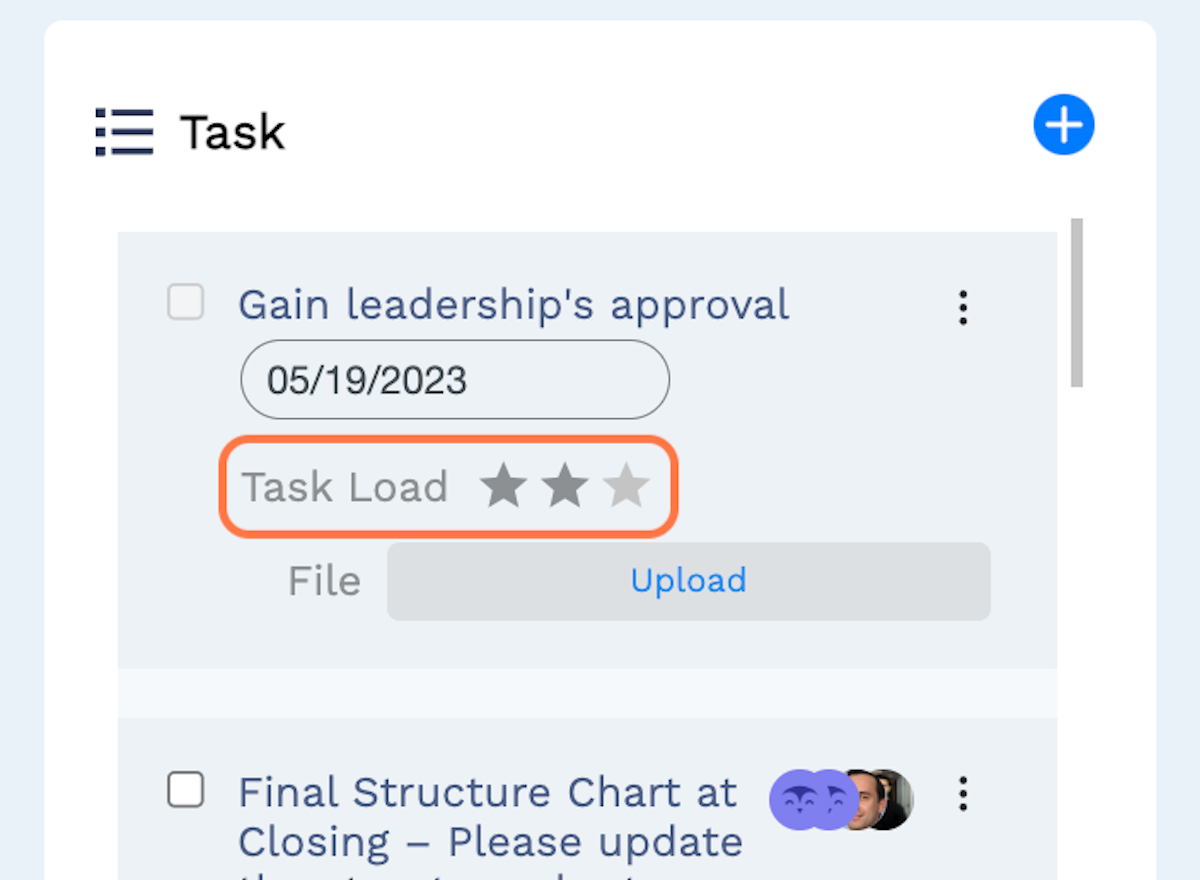
A new, incomplete task will immediately appear at the top of the task list. Enter a title and completion due date and attach any files relevant to that specific task.
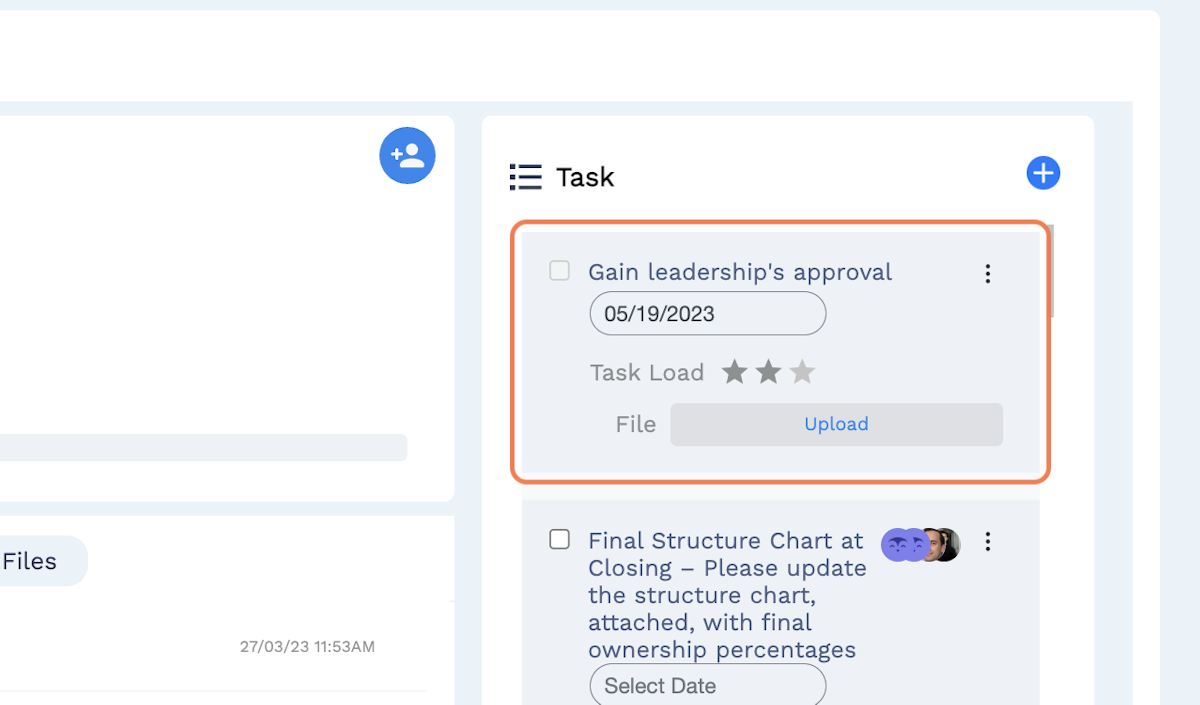
The “task load” acts as a measurement of how much work the task will require, on a scale from 1 to 3 stars:
- 1 star represents any task comprising less than one hour of work.
- 2 stars represent any task comprising one to five hours of work.
- 3 stars represent any task comprising more than five hours of work.
Edit and complete project tasks
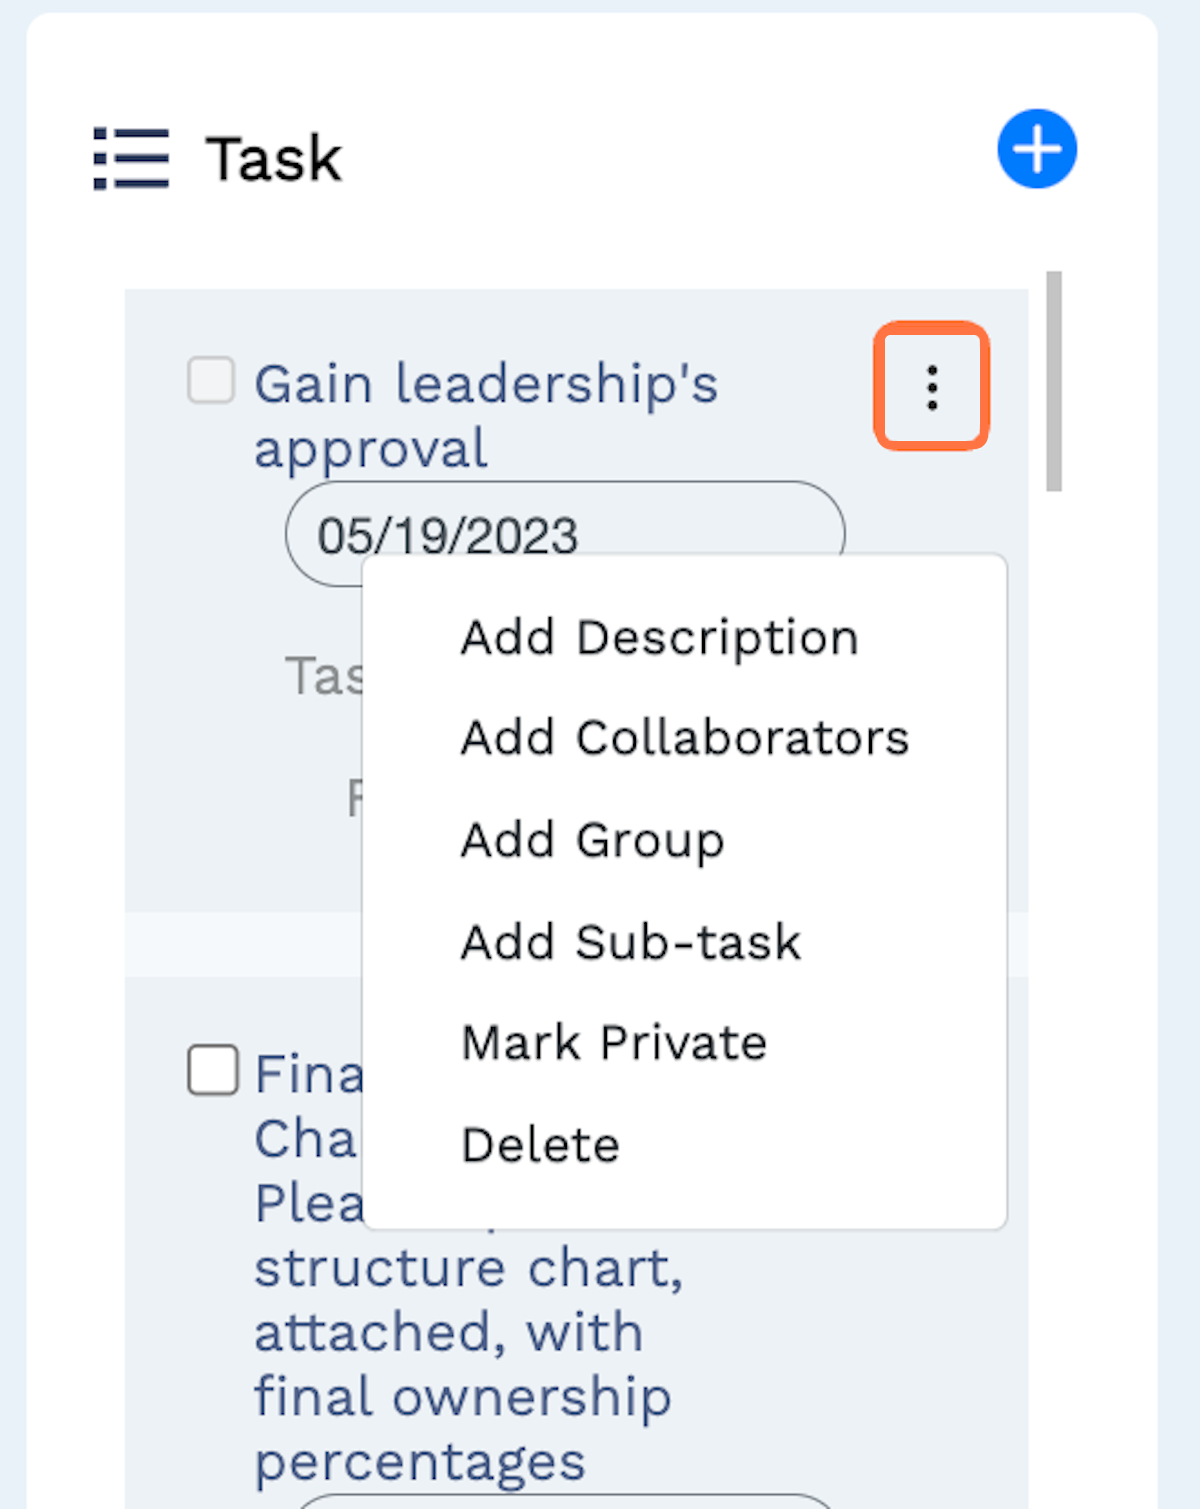
To edit an existing task, select the three-dot icon at the top right of the task. A dropdown menu will appear with the following options:
- Add Description: The description provides additional details on what the task entails and will appear directly below the title.
- Add Collaborators: Collaborators can be assigned to any individual task, as long as those users are already assigned to the associated project itself. If you need to include an additional collaborator on a task, make sure that they are assigned to the project first.
- Add Group: If the entire collection of project collaborators needs to be assigned to a specific task, this option enables you to automatically add the entire project group to that task.
- Add Sub-task: A sub-task represents a smaller piece of work that ties into a specific project task. When you create a sub-task, a smaller cell will appear directly beneath the associated task in which you can add details. A sub-task only allows for a title, completion due date, and collaborators.
- Mark Private: Similar to projects, individual tasks can be marked private as well, only visible to administrators and assigned collaborators. If you need to revert the task into a public one, you can do so using the same dropdown menu.
- Delete: Once a task is no longer relevant, as opposed to simply being completed, this option allows you to remove the task altogether.
- Edit File (if applicable): If a file or document has already been uploaded to the task, this option will appear. Select this option if you need to replace the currently uploaded file with another one.
- Remove File (if applicable): This option only populates once a file or document has already been uploaded to the task. Select this and the file will automatically be removed from the task and project.
Make your project private
As noted elsewhere, this label can be applied to any project containing sensitive information that should not be broadly distributed. Administrators, as well as any staff members who first create a given project, will be entrusted with the authority to determine whether or not a project needs to be considered “private.”
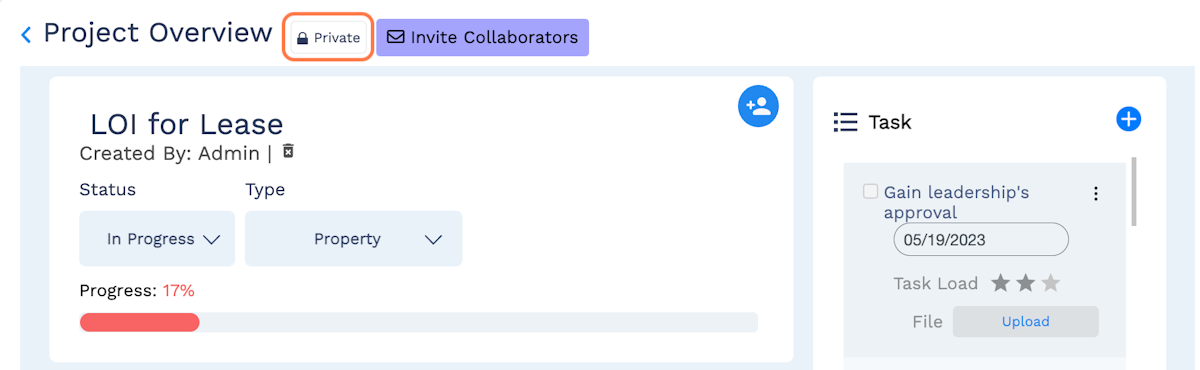
Once marked as private, the project, along with its contents and associated files, will only be visible to administrators and assigned collaborators.


